Step by Step
How Does The PhotoStick Omni Work?
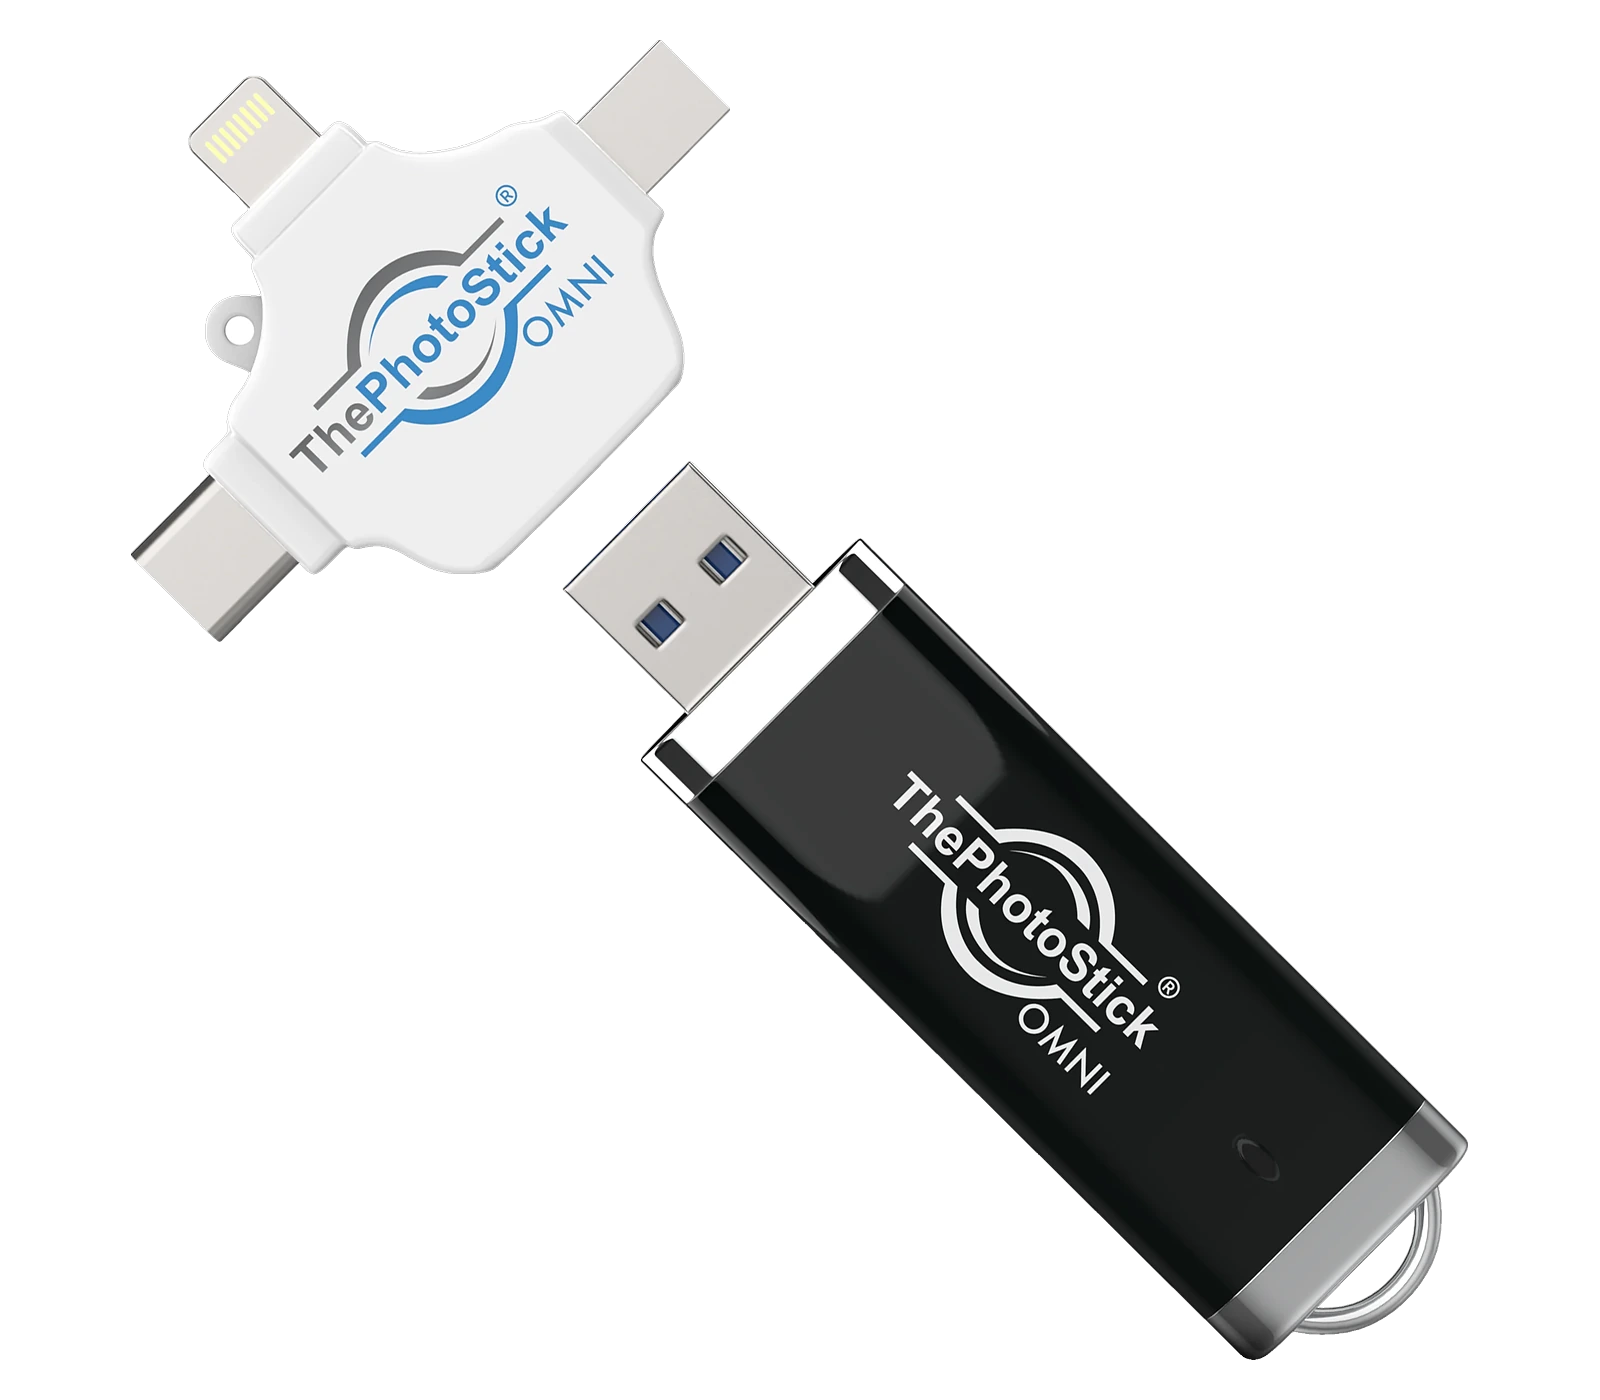
The PhotoStick Omni is designed to make photo backup more approachable for people who do not want to manage every file manually. The process generally involves checking compatibility, installing the appropriate software where required, connecting the device using the correct adapter or port, selecting supported files for backup, and verifying the transferred data. The exact steps may differ between mobile devices and computers, so users should follow the manufacturer's current instructions for their specific setup.
1
Step 1: Check Your Device and Connection
Before starting, identify where your photographs and videos are stored. They may be saved in your smartphone's internal storage, a tablet's media library, a laptop's folders, or several locations at once. Check the operating system and connection type of each device you want to use with ThePhotoStick Omni.
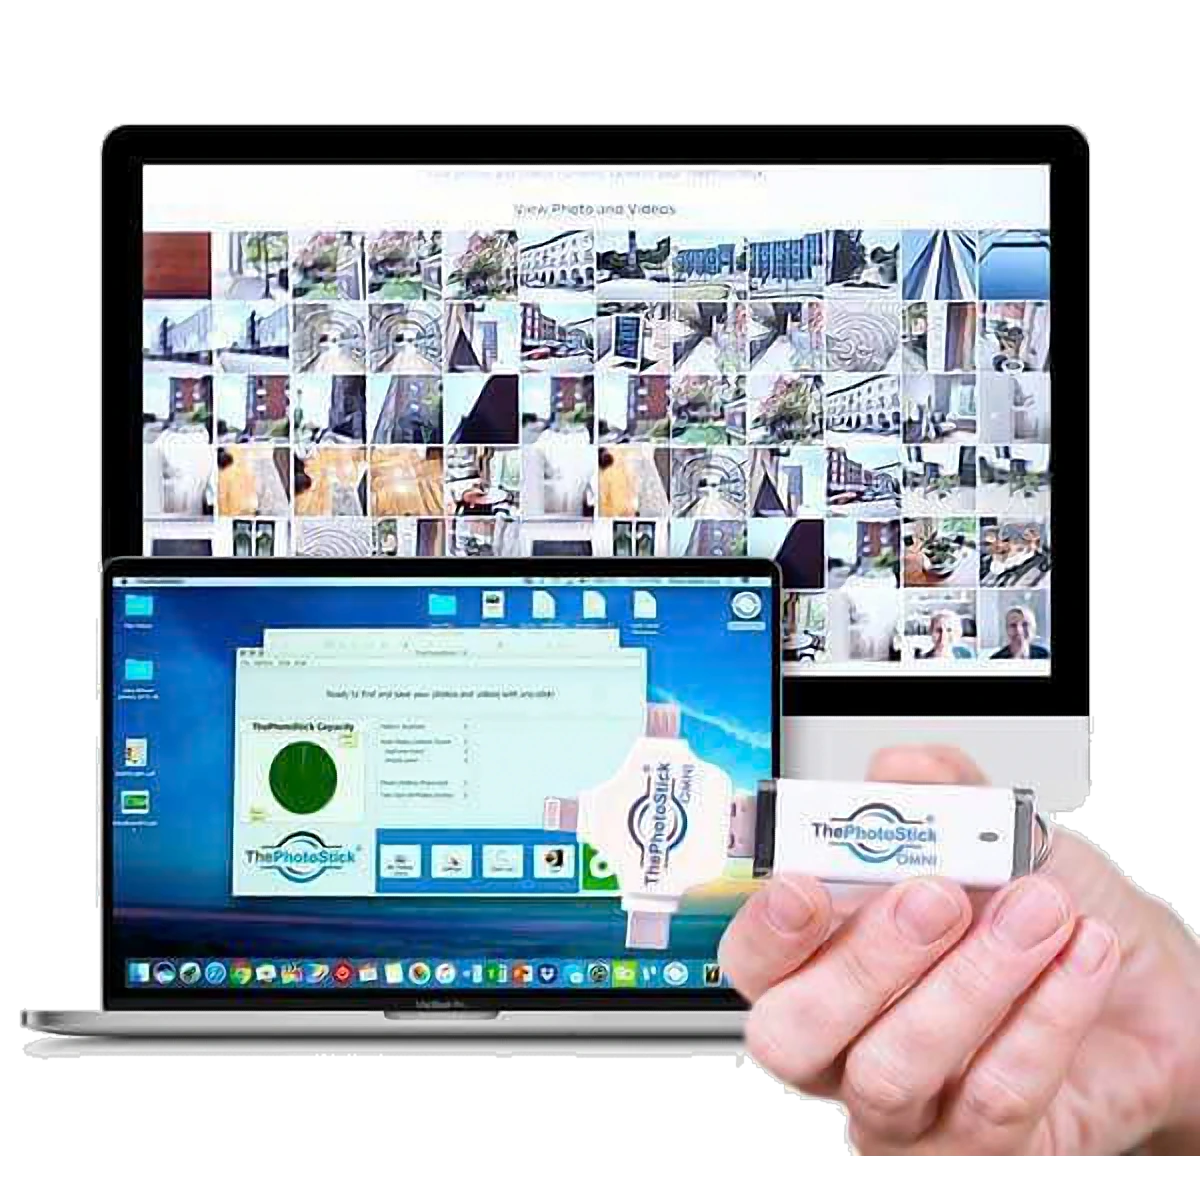
The manufacturer's product information lists support for Windows 7 SP1 or later, macOS 10.13 or later, iOS and iPadOS 13.0 or later, and Android 8.0 or later, with additional device-specific requirements. These are published requirements, not a guarantee that every device running those operating systems will work in exactly the same way. Some phones use different connectors, and some devices impose restrictions on external storage access.
Check the official compatibility information before ordering, especially if you own a newer smartphone, a tablet with a USB-C connection, or a computer with limited ports. If you plan to back up files from several devices, make sure the required adapters and connection methods are included or available separately.
2
Step 2: Install the Appropriate Companion App
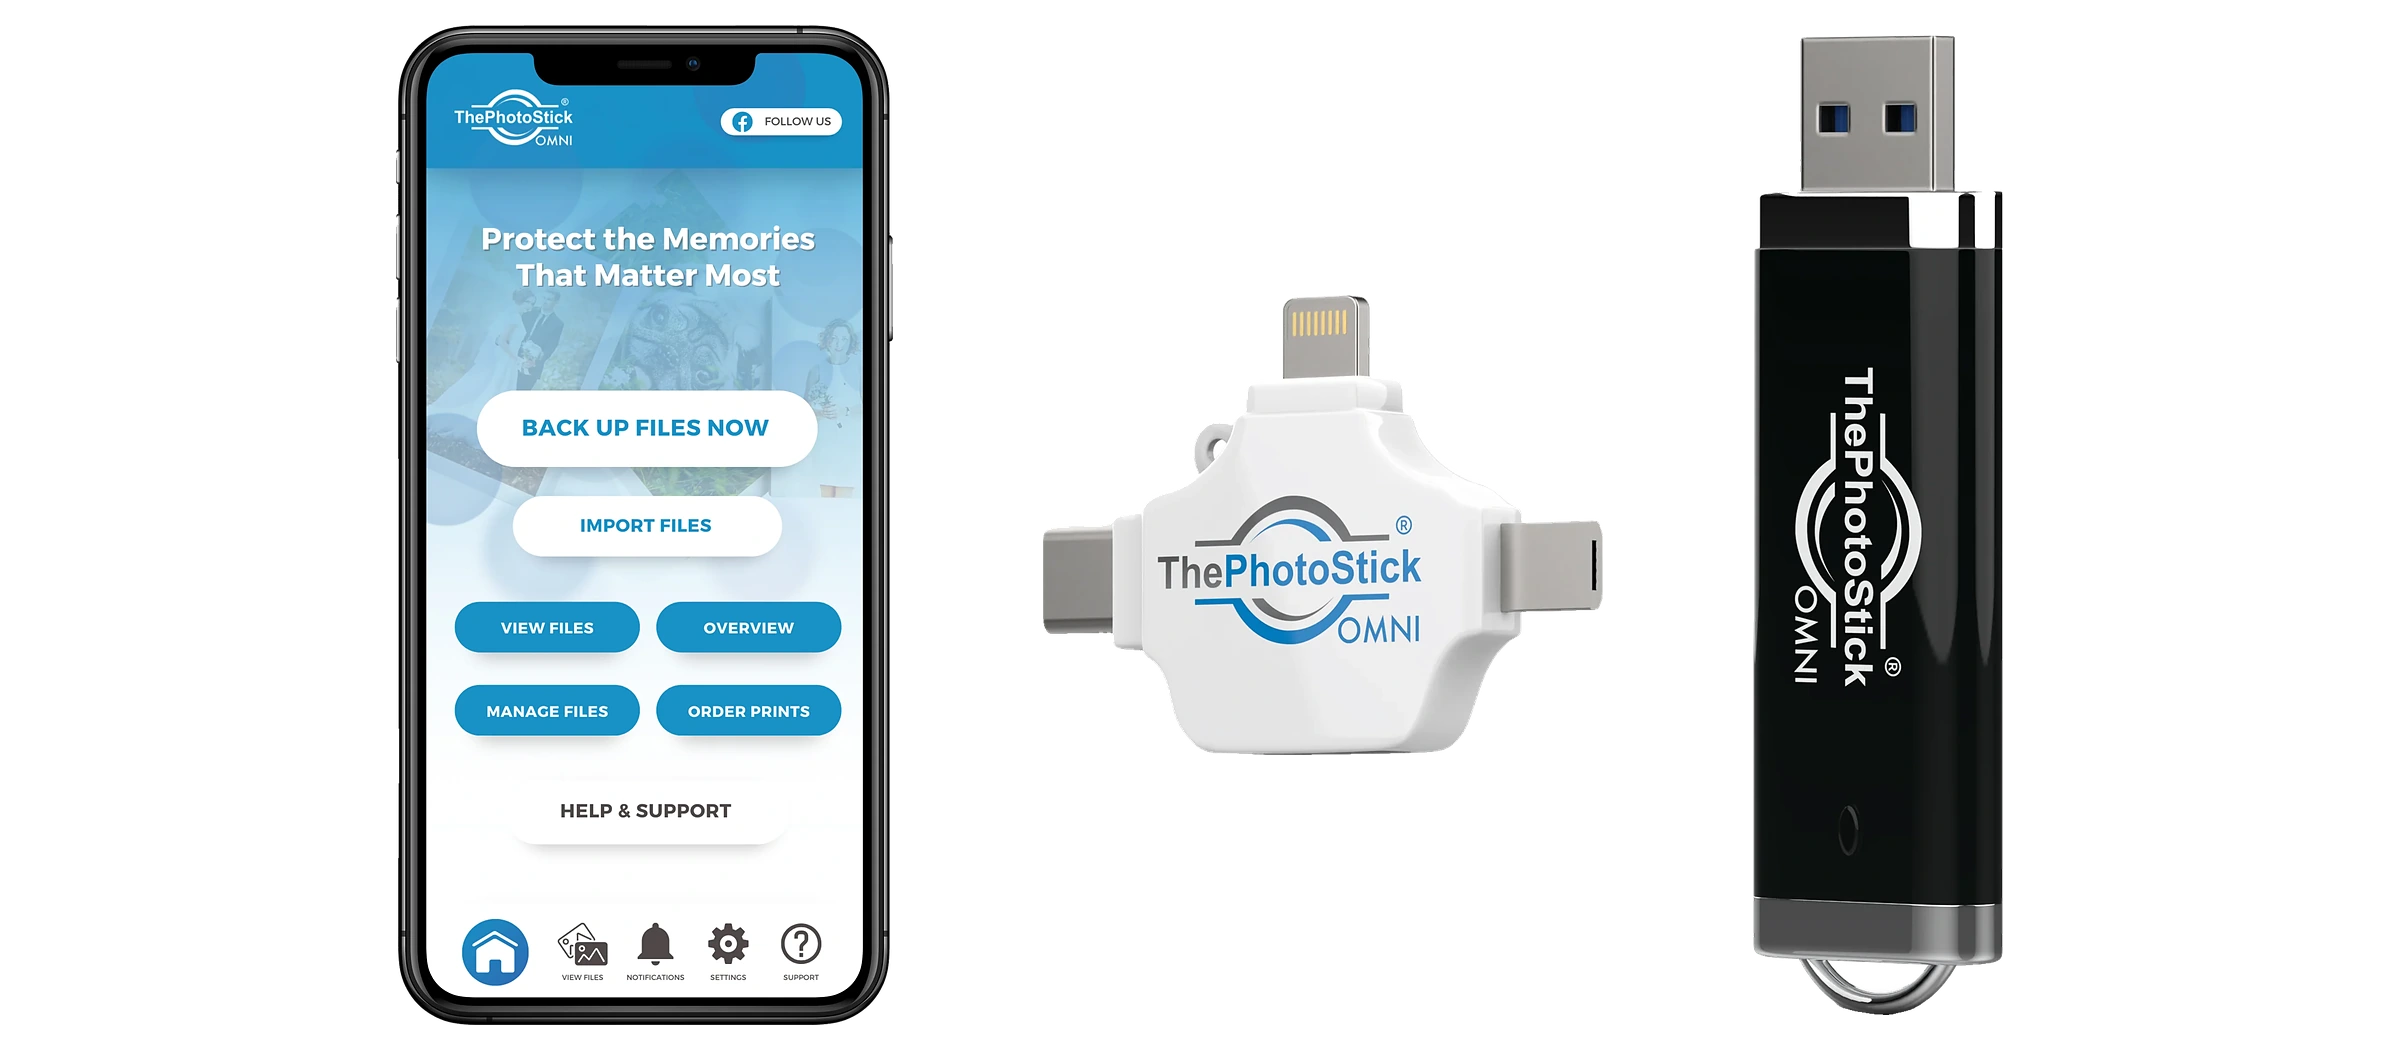
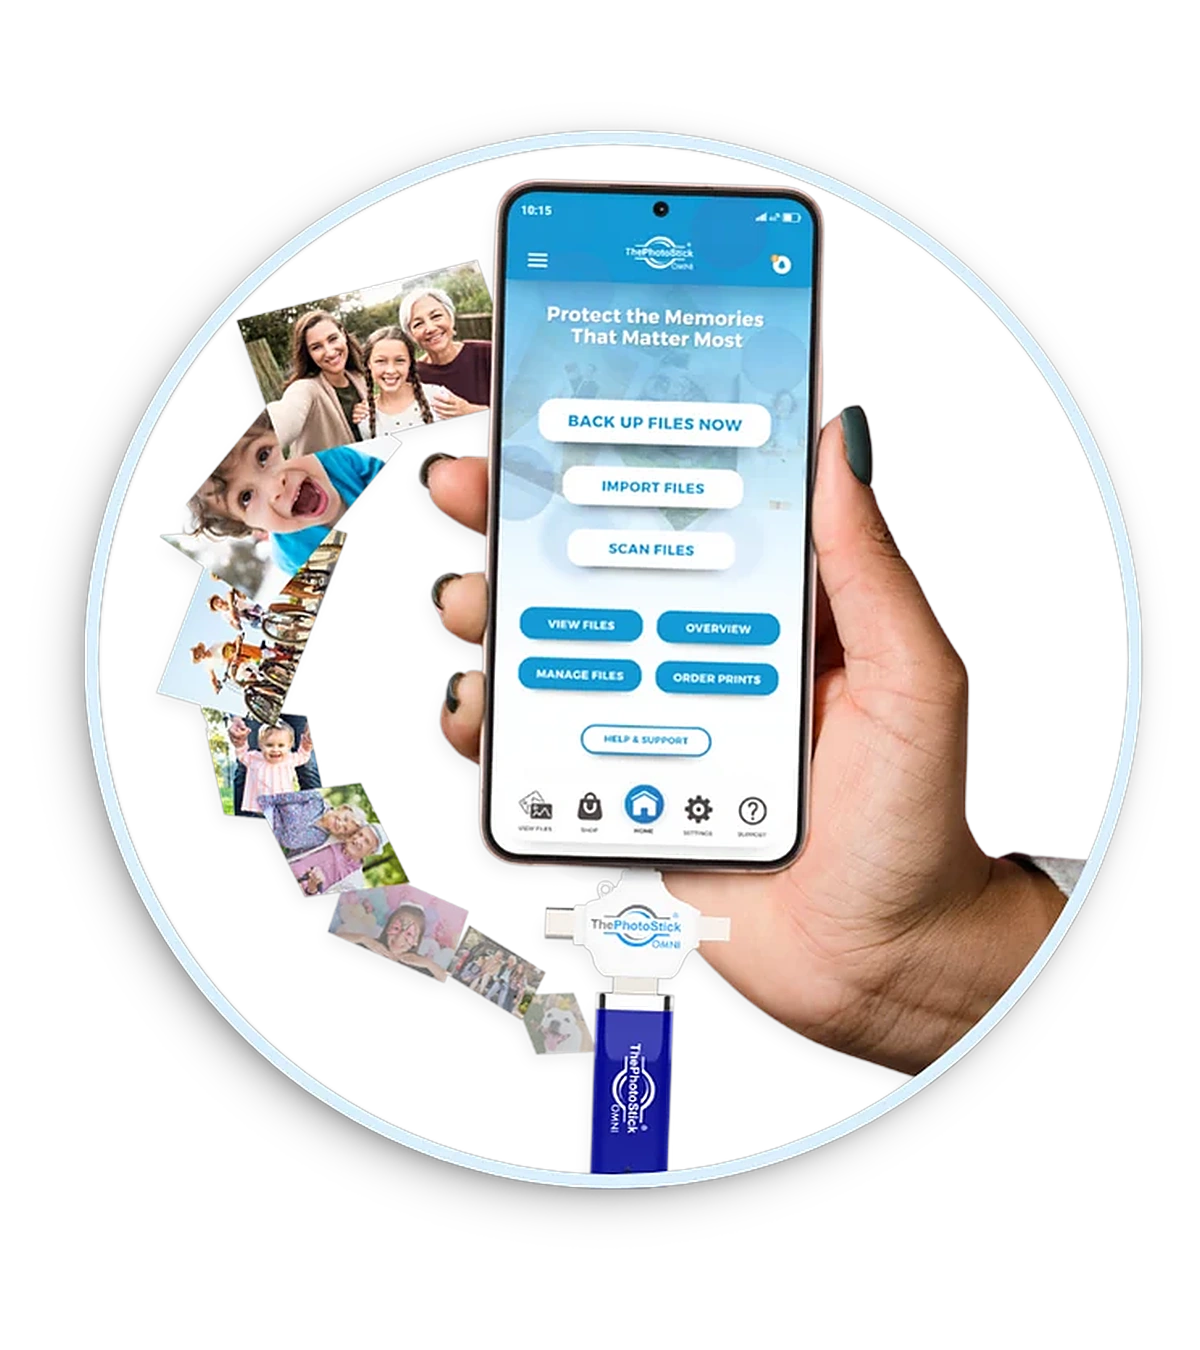
For supported mobile-device workflows, the manufacturer directs users to download the PhotoStick Omni app through the relevant app store. Installing the appropriate application is an important part of the process because it helps the device interact with the files that the phone or tablet permits it to access.
Use the official app listing linked by the manufacturer rather than downloading software from an unfamiliar third-party website. Before proceeding, review the requested permissions and ensure the application is compatible with your operating system. Depending on your device, you may need to grant access to photos, videos, or other supported media.
Computer workflows may differ from mobile workflows. Follow the current quick-start guide and software instructions for your operating system instead of assuming that every platform uses the same application or procedure.
3
Step 3: Connect The PhotoStick Omni
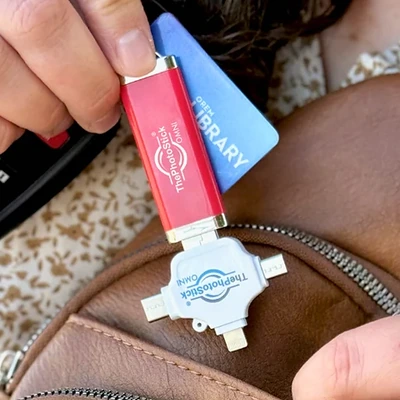
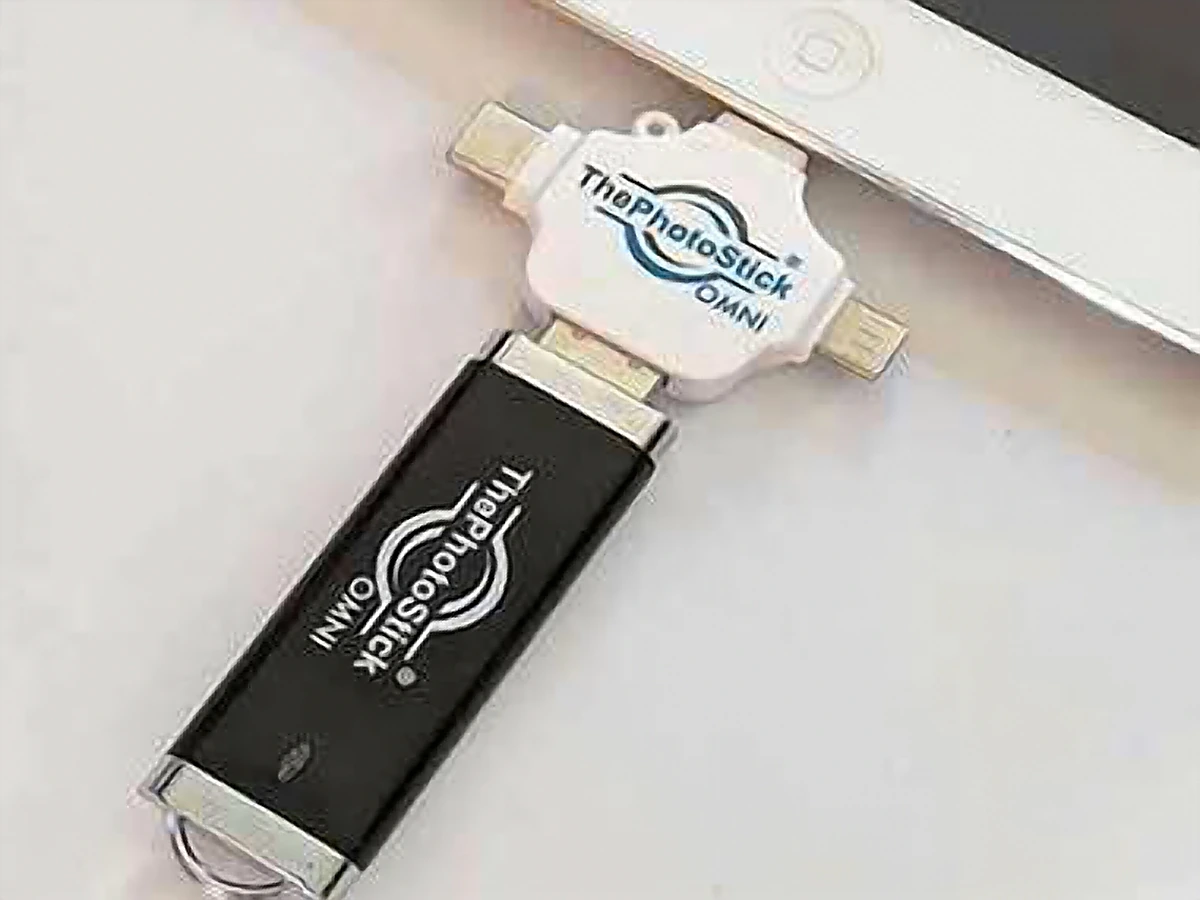
Once your device is ready, connect ThePhotoStick Omni using the appropriate port or adapter. The product is designed for use across supported computers and mobile devices, but the physical connection can vary. A phone may require a compatible adapter, while a computer may offer a suitable USB port directly.
After connecting the storage device, follow any prompts displayed by the companion app or operating system. If the device is not detected, check that the connector is fully inserted, the adapter is suitable, and the phone or computer supports the required connection.
Avoid forcing an adapter into a port or disconnecting the device during an active transfer. If the manufacturer provides separate instructions for a particular device, use those instructions as your primary reference.
4
Step 4: Allow the Software to Locate Supported Files
ThePhotoStick Omni is marketed around its ability to find and organize supported photographs and videos. This can be helpful when a collection contains hundreds or thousands of files spread across different folders. Rather than selecting every picture individually, users can follow the application's backup workflow to locate eligible media.
The files detected will depend on where the software is permitted to look, the format of each file, the device's settings, and the application version. Do not assume that every file stored in an account, hidden folder, cloud service, or third-party application will automatically be copied. Files that exist only online may need to be downloaded to the device first.
Before running a large backup, review the application's settings and any file-selection options. If you have particularly important photographs, consider checking a sample of the files before beginning a lengthy transfer.
5
Step 5: Start the Backup and Let It Finish
After reviewing the selected files, begin the backup using the application's instructions. The time required will depend on the number of files, their sizes, the connection speed, and the device being used. A collection containing thousands of high-resolution photographs and lengthy videos may take considerably longer than a small group of images.
Keep the phone or computer available while the process is running, and avoid removing the storage device before the application confirms that the transfer has finished. If the software reports an error or interrupted transfer, check which files were copied successfully before trying again.
The manufacturer notes that finding and backing up a large collection can take time. It is therefore better to allow sufficient time for the initial backup than to expect every device to finish within a fixed number of minutes.
6
Step 6: Verify Your Saved Photos and Videos
A backup is only useful if the files have been transferred successfully and can be retrieved when needed. Once the process is complete, follow the product instructions for viewing or accessing the saved files. Open a selection of photographs and videos to confirm that they work and that the expected content is present.
For a large or especially valuable collection, compare the backup with the original files and investigate any missing items. Do not delete the originals immediately after a transfer simply because the application reports completion. Keeping the original files until you have verified the backup provides an additional layer of protection against incomplete transfers or unexpected errors.
7
Step 7: Store the Device Safely and Maintain a Second Copy
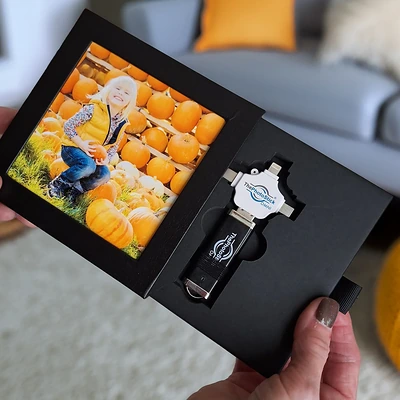
After verifying the transfer, disconnect the device according to the operating system's recommended procedure. Store it in a dry, secure location where it is protected from accidental damage, loss, and unauthorized access.
For irreplaceable photographs, consider maintaining another independent copy on a separate external drive or a reputable cloud backup service. A single USB device is not a complete disaster-recovery plan because physical storage can fail or become unavailable. A second copy gives you another way to recover your memories if the original device is lost or damaged.